

 josie@daya.cc
A Comprehensive Guide to Installing DAYA Solid Surface Shower Bases: Achieving Durability and Watertight Performance
2023-12-29
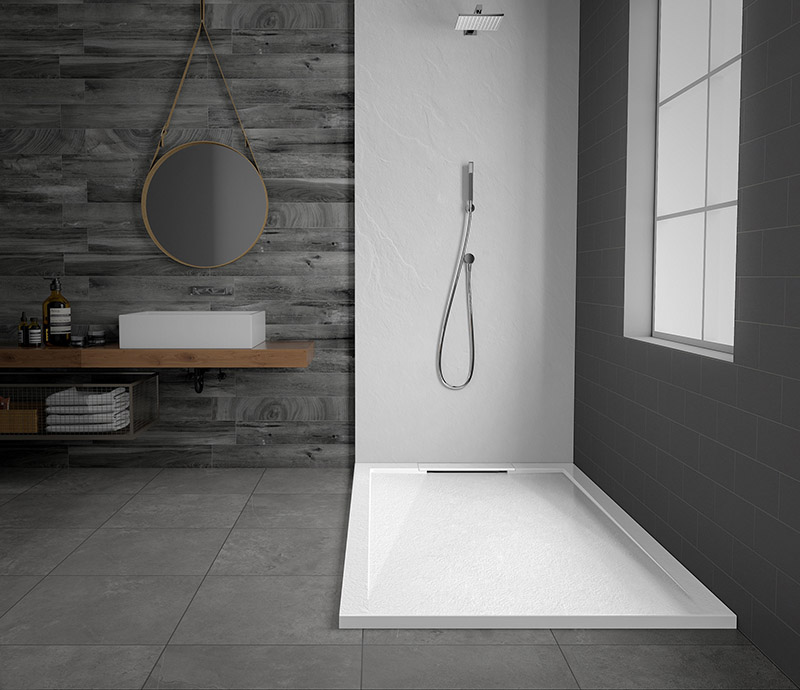
Installing our DAYA Series L solid surface shower base is a straightforward and efficient process that ensures a durable and watertight solution for the shower area you operate. In this comprehensive guide, we will walk you through the step-by-step installation instructions, providing all the necessary information to successfully complete the task.
Installation Procedure
Firstly, before beginning the installation process, it is crucial to carefully remove the protective covering in the area around the plug hole and on the sides where the tray will meet the wall. This step ensures a clean and smooth surface for the installation. Additionally, make sure the correct fittings are securely attached to the top of the waste pipe and firmly fasten the waste fittings around the plughole of the shower tray.
If you are installing the tray directly onto the floor, align it precisely over the waste trap to ensure a proper fit. To determine where to spread the mortar, outline the edge of the tray with a pencil. This simple yet essential step helps you achieve an accurate and secure placement.
In some cases, your DAYA shower tray kit may include a wall sealant strip. If this is the case, attach it to the tray at the sides where it meets the wall. The sealant strip provides an additional layer of protection against water leakage. However, if your kit does not include a wall sealant strip, don’t worry. You can easily create a watertight seal along the edge of the tray by using a caulking gun and applying a thin layer of silicon. This ensures that no water seeps through the edges and prevents any potential damage.
After completing the above steps, it’s time to remove the remaining plastic covering and securely connect the waste outlet to the trap according to the manufacturer’s guidelines. The manufacturer’s instructions will guide you on whether to tighten the fitting from above or navigate from beneath the tray to secure the fittings properly. Taking the time to follow these instructions ensures a proper and stable connection, resulting in a leak-free shower base.
To ensure a professional and finished look, recheck the watertight seal along the edge of the tray and make any necessary adjustments. This step ensures that your DAYA solid surface shower base is not only functional but also visually appealing. Additionally, double-check all connections and fittings to guarantee a solid and reliable installation.
Conclusion
In conclusion, installing our DAYA solid surface shower base, such as the Series L, is an easy and efficient process that involves removing protective coverings, aligning the tray with the waste trap, applying a watertight seal along the tray’s edges, and securely connecting the waste outlet to the trap. By following these step-by-step instructions, you can achieve a durable, reliable, and visually pleasing solution for your shower area. Enjoy the benefits of our high-quality solid surface shower base, designed to enhance both the functionality and aesthetics of your bathroom space. Experience the difference with DAYA.


